Getting Started
SerpBear uses third-party website scrapers like ScrapingRobot, Serper.dev or Your given Proxy ips to scrape Google search results to see if your domain appears in the search results for the given keyword.
Requirements
- Required: A 3rd party Scraping account or a proxy IP to scrape Google Search Results. You can get a free API key from either ScrapingRobot (5k/month free), Serper.dev (2.5k free requests) or choose from other providers.
- Optional: An SMTP account to receive SERP position notification emails.
- Optional: A server to deploy the app. You can also run it locally on your PC.
Setting up and running the App
Step 1: Deploy and run the App
You can run the app locally or deploy it with docker (free), or on your own server. Note that when you are running locally, you won't be able to access the app through mobile and won't be able to use the API for your data reporting apps.
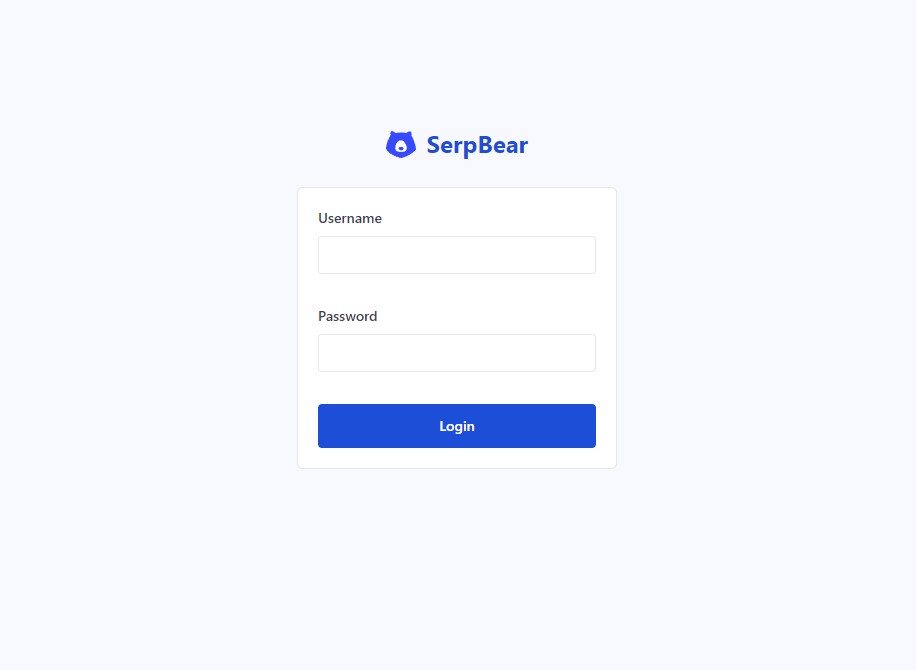
Step 2: Access your App and Login
After running the app, access it through your browser with the APP URL. If you are running locally, its http://localhost:3000 . If you have deployed it on a server, it's the value you set as NEXT_PUBLIC_APP_URL in your env file.
Once you access the URL, you will be redirected to the login page. Use the username and password set in your env file.
Step 3: Add your First Domain
Once you log in, you will be required to add your very first domain. Once you do that, you will be redirected to the App's main interface.
-923e3fb6008f01cff4de15cc4aebc7e2.jpg)
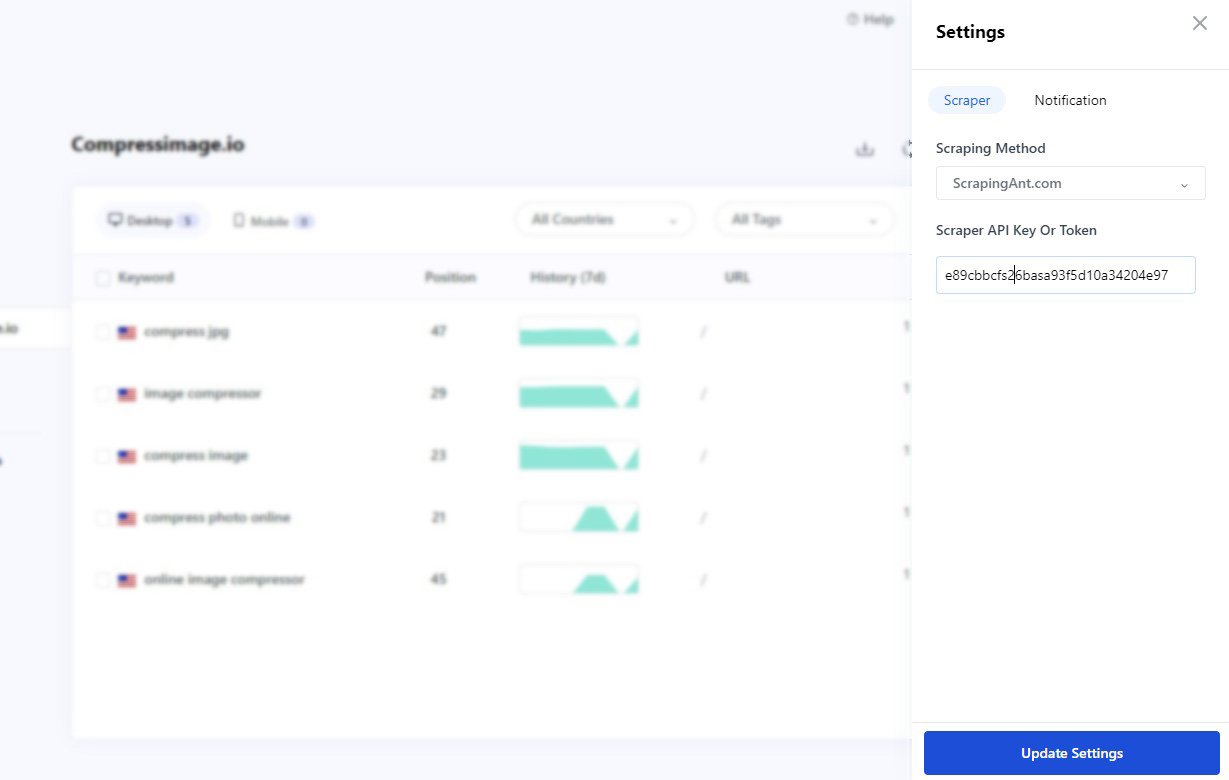
Step 4: Setting up the Scraper
The core of the app is the scraper which scrapes Google Search results for a given keyword. Since you cannot scrape Google without getting an IP ban, you will need to use 3rd party scrapers or private proxies. You can either use a third-party scraper or you can use 3rd party proxy services.
Using 3rd party Scrapers
You can get a free API key from either ScrapingRobot (5k/month free) or Serper.dev (2500 free queries). Once you get an API key from any of the aforementioned services, click the Settings menu from the top right corner of the App, select the service insert your API key, and save. Then refresh the page.
Using Proxies instead
If you have decided to use proxy services, select Proxy from the Scraper List, and then in the proxy field, insert your proxy IP list. The ips should be formatted this way: http://username:password@IP_ADDRESS:PORT .
Example: http://eizjbatm:mbn4iyhp72la@45.148.125.184:7291
Note that the number of ips should correlate to the number of keywords you added. If you've added 100 keywords, its best to use at-least 30 keywords. its even better if you are using rotating proxy ips. And no, you don't need residential ips, datacenter ips work fine.
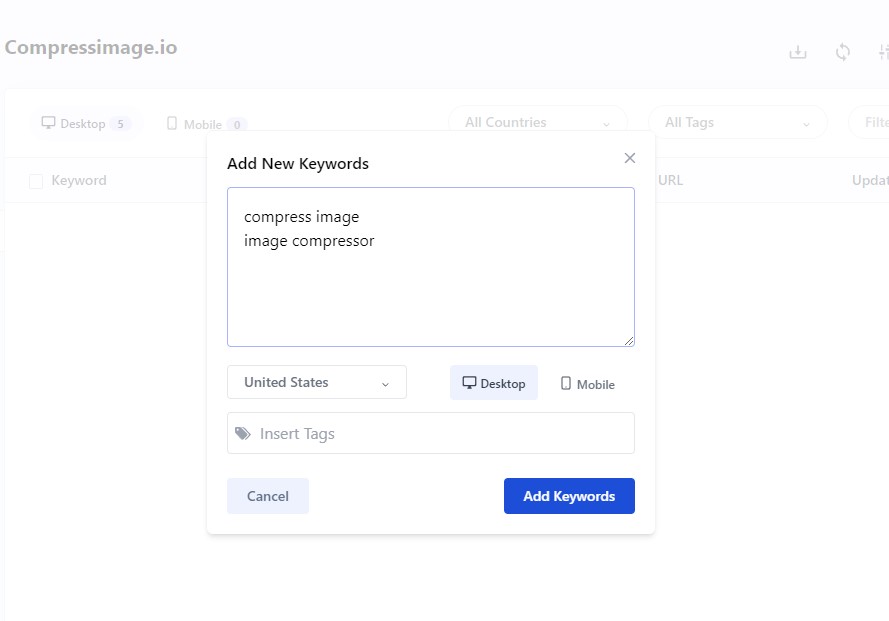
Step 5: Adding your First Keyword
Once you have setup the scraper, click the Add Keyword button and insert the keywords you want to track, select the keyword Country and device and click add. Once they are added, their SERPs will be automatically fetched and their Position data will updated.
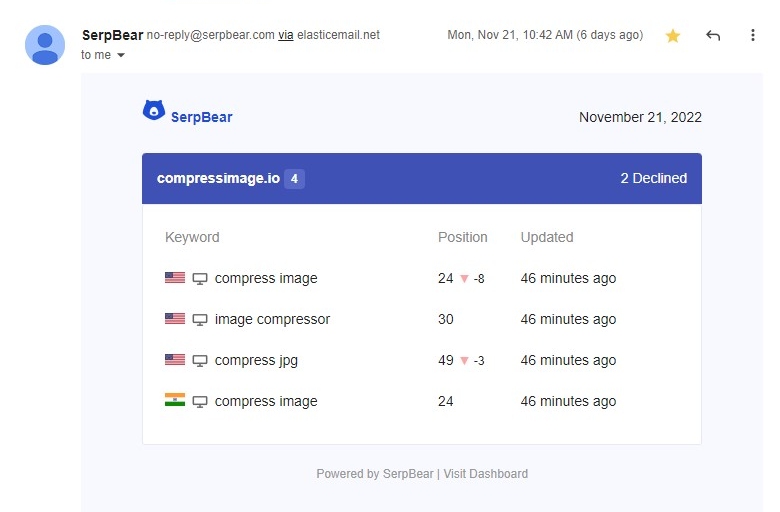
Step 7: Receiving Daily/Weekly Email Notification of your Keyword's Position changes
From the Settings panel, setup SMTP details to get notified of your keywords positions through email. You can use ElasticEmail and Sendpulse SMTP services that are free.